Quick and Easy Cork Board from a Vintage Frame
Today I wanted to share a quick fix for a complaint my husband, Chris, has had about my refrigerator from day 1 – it has a stainless-steel finish (but it is not stainless steel). I claim it as mine since I bought it before he was in the picture, so he got it when he got me. We were a package deal – me and my fridge. It looks great, but magnets don’t work on the door.
Small confession: I didn’t mind it too much. Chris was big into covering his fridge in Atlanta with lots of pictures, posters, and wide variety of magnets he picked up through life. It was very interesting, but it was a bit much for me.
But marriage is about compromise. While I didn’t want to go back to a fridge with wall-to-wall stuff, I did want to give Chris some space to express himself. And let’s face it. A bulletin board is a great place to display things that are important in the moment – schedules, invitations, photos, etc. – and easy to change out over time.
Materials
- Foam core board (from Dollar Tree)
- Vintage Frame
- Cork mat
- Spray adhesive
- Sealer
- Utility knife
- Scissors
- Push pins
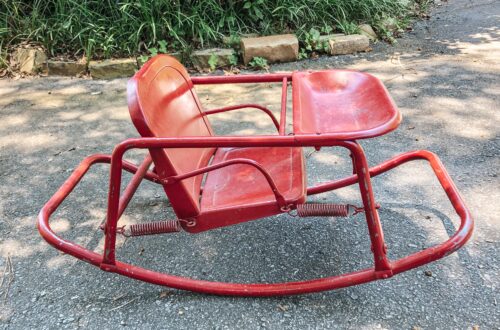
When Chris was gone for a couple of days on a work trip, I got to work. I pulled a vintage frame out of my stash that I’d picked up for $5 at an estate sale (it was $10, but they were selling everything at 50% off). The frame had a finish similar to out kitchen cabinets, so I didn’t feel the need to paint it
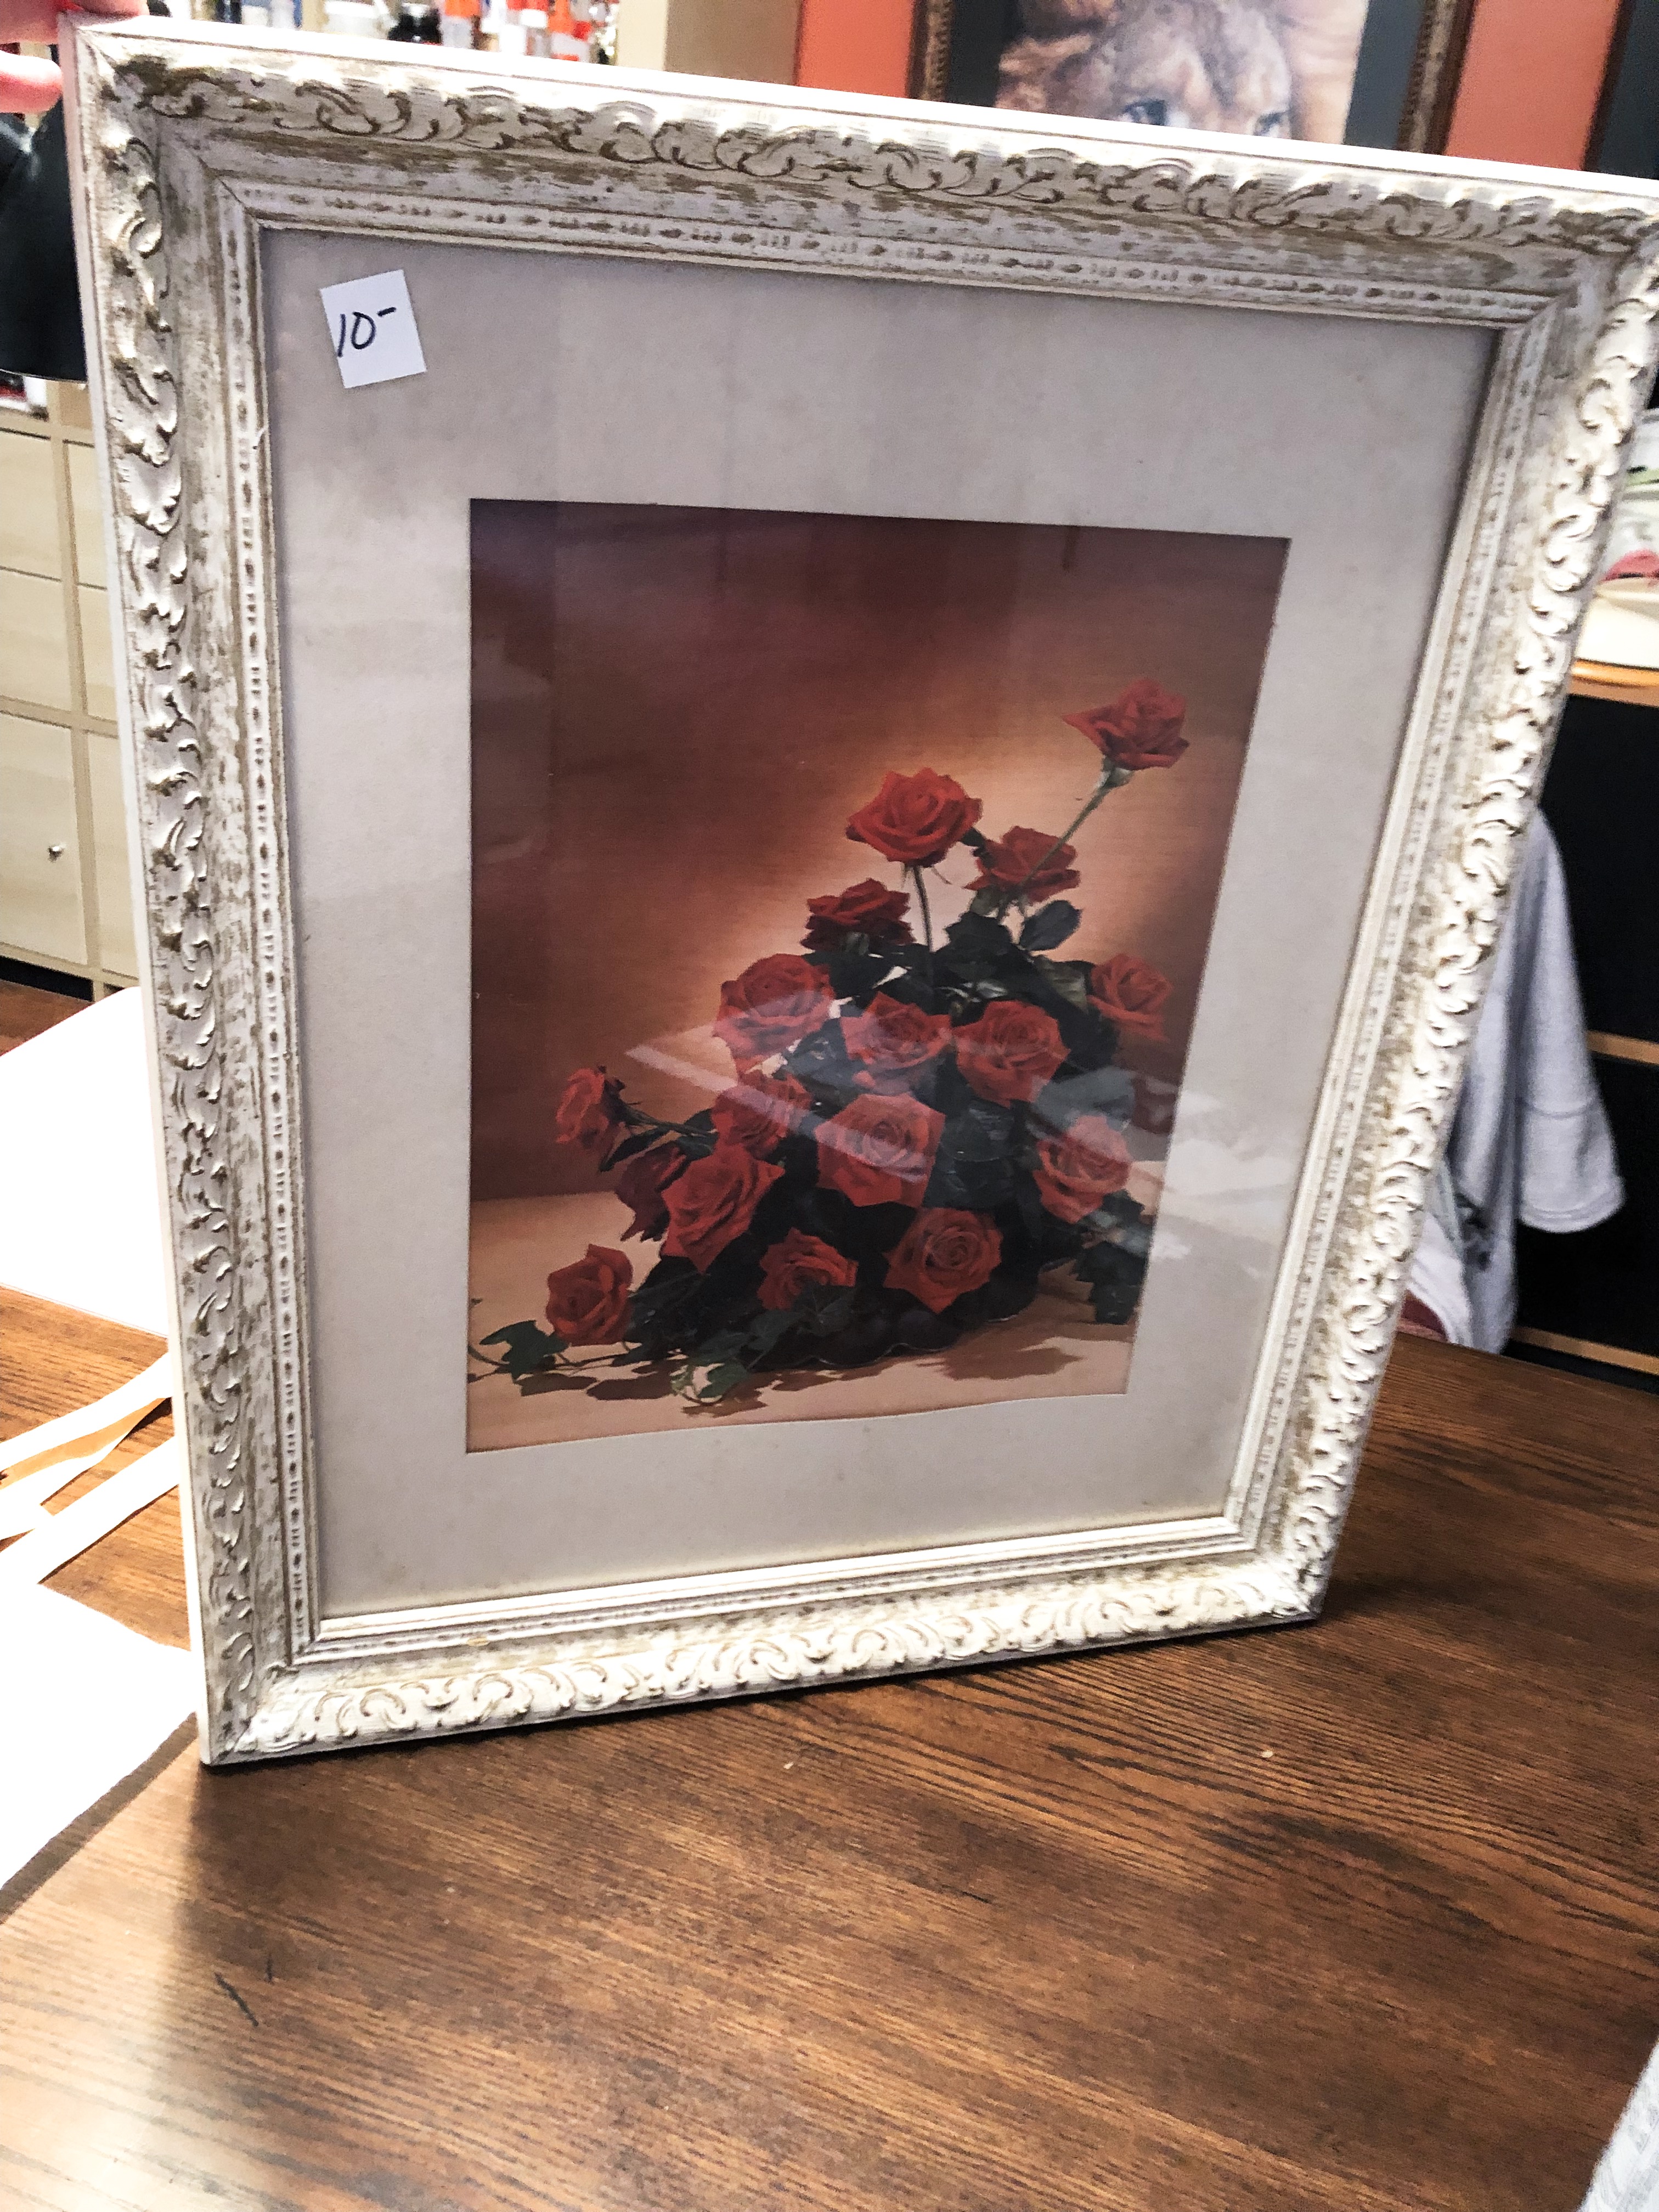
Before cleaning, I carefully bent the pins holding the picture and glass in place up using a flathead screwdriver. The few loose ones I just removed. Please be careful when removing the glass. DON’T try to force it you will break the glass. I gave the frame a good cleaning with a wood cleaner and a toothbrush so I could get into all the grooves in the frame detail.
Making the Cork Board
I used the glass that I took from the frame to measure my foam core board and then used my utility knife to cut it. I traced the same size on my cork and used scissors to cut it. TIP: the utility knife did not work well on the cork. It was much easier to use the scissors.
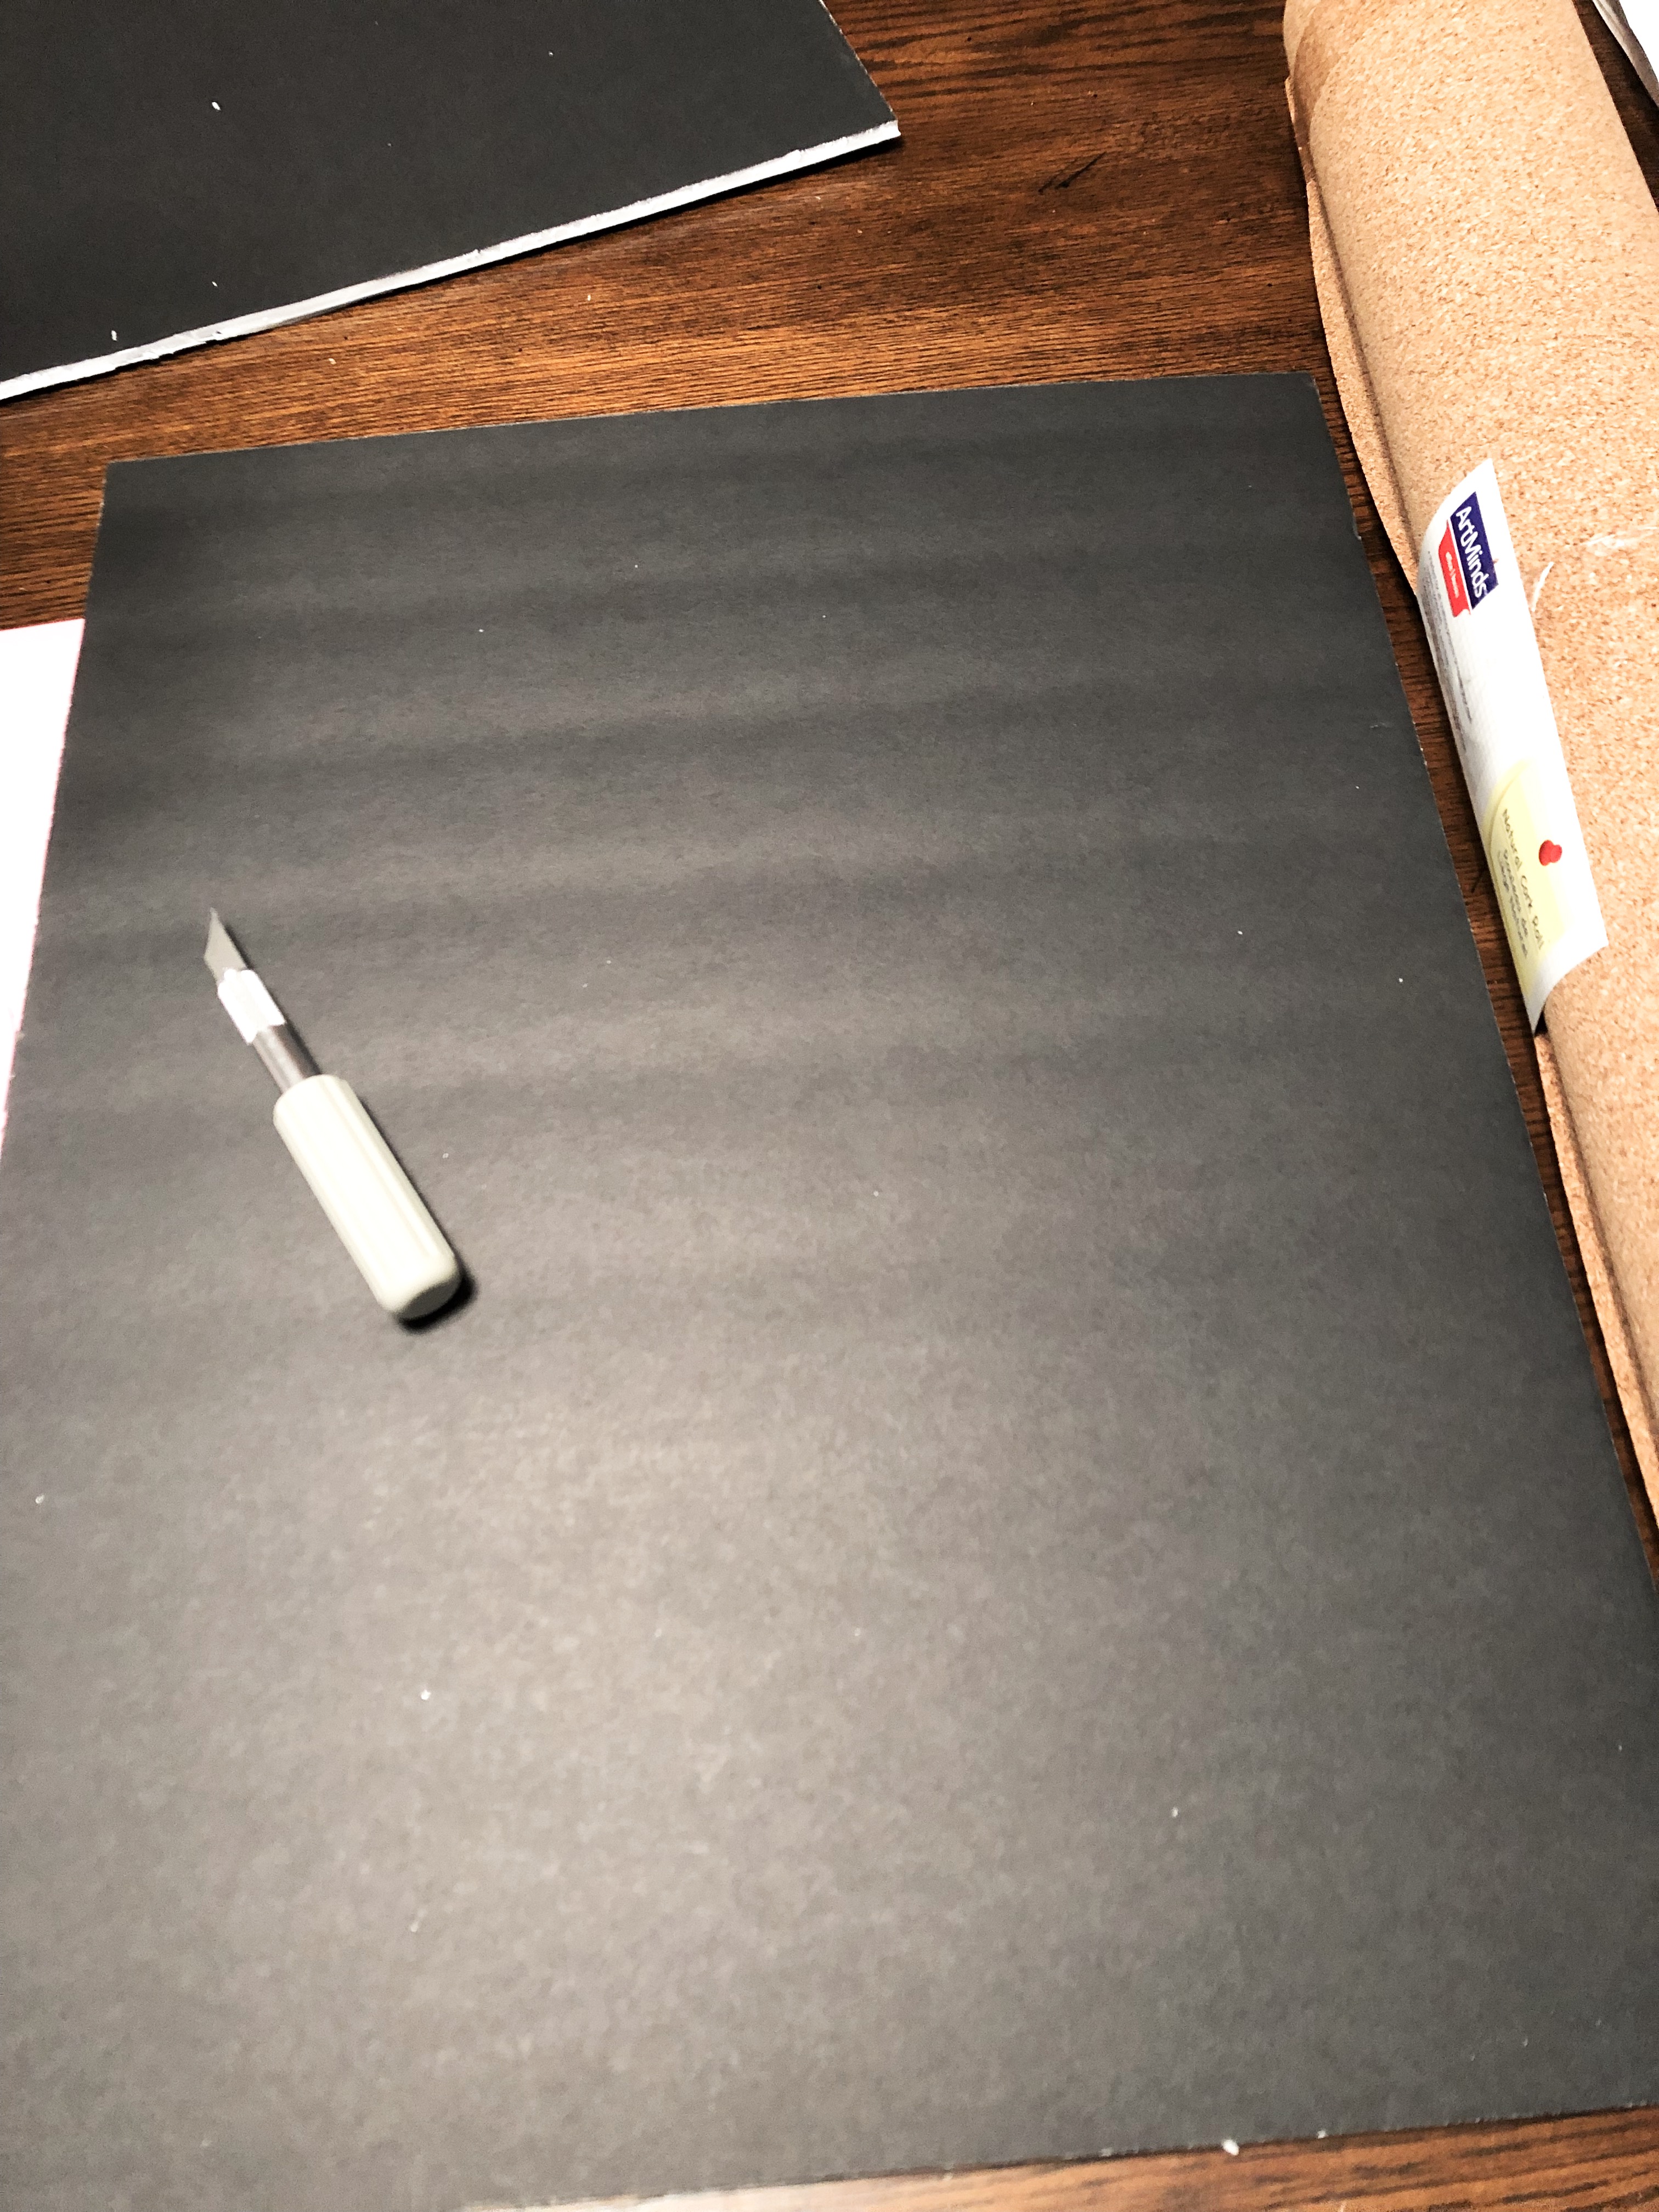
Spray the foam core with a light coat of adhesive and made sure to get the cork on quickly in order to form a permanent bond. Working from the top to the bottom, I carefully put the cork mat on the foam core. The cork can tear, but I made sure there were no air pockets by pressing from the middle out to the edges. In one hour, it was completely dry. I gave it a quick coat of sealer to protect the cork.

Once the sealer dried, I could insert it into the frame. It was a bit thicker that the original glass and picture, and some of the pins punctured the foam core and held it in place. The pins that were still visible around the edges were bent back down to hold everything in place (and to keep them from scratching the front of my fridge.
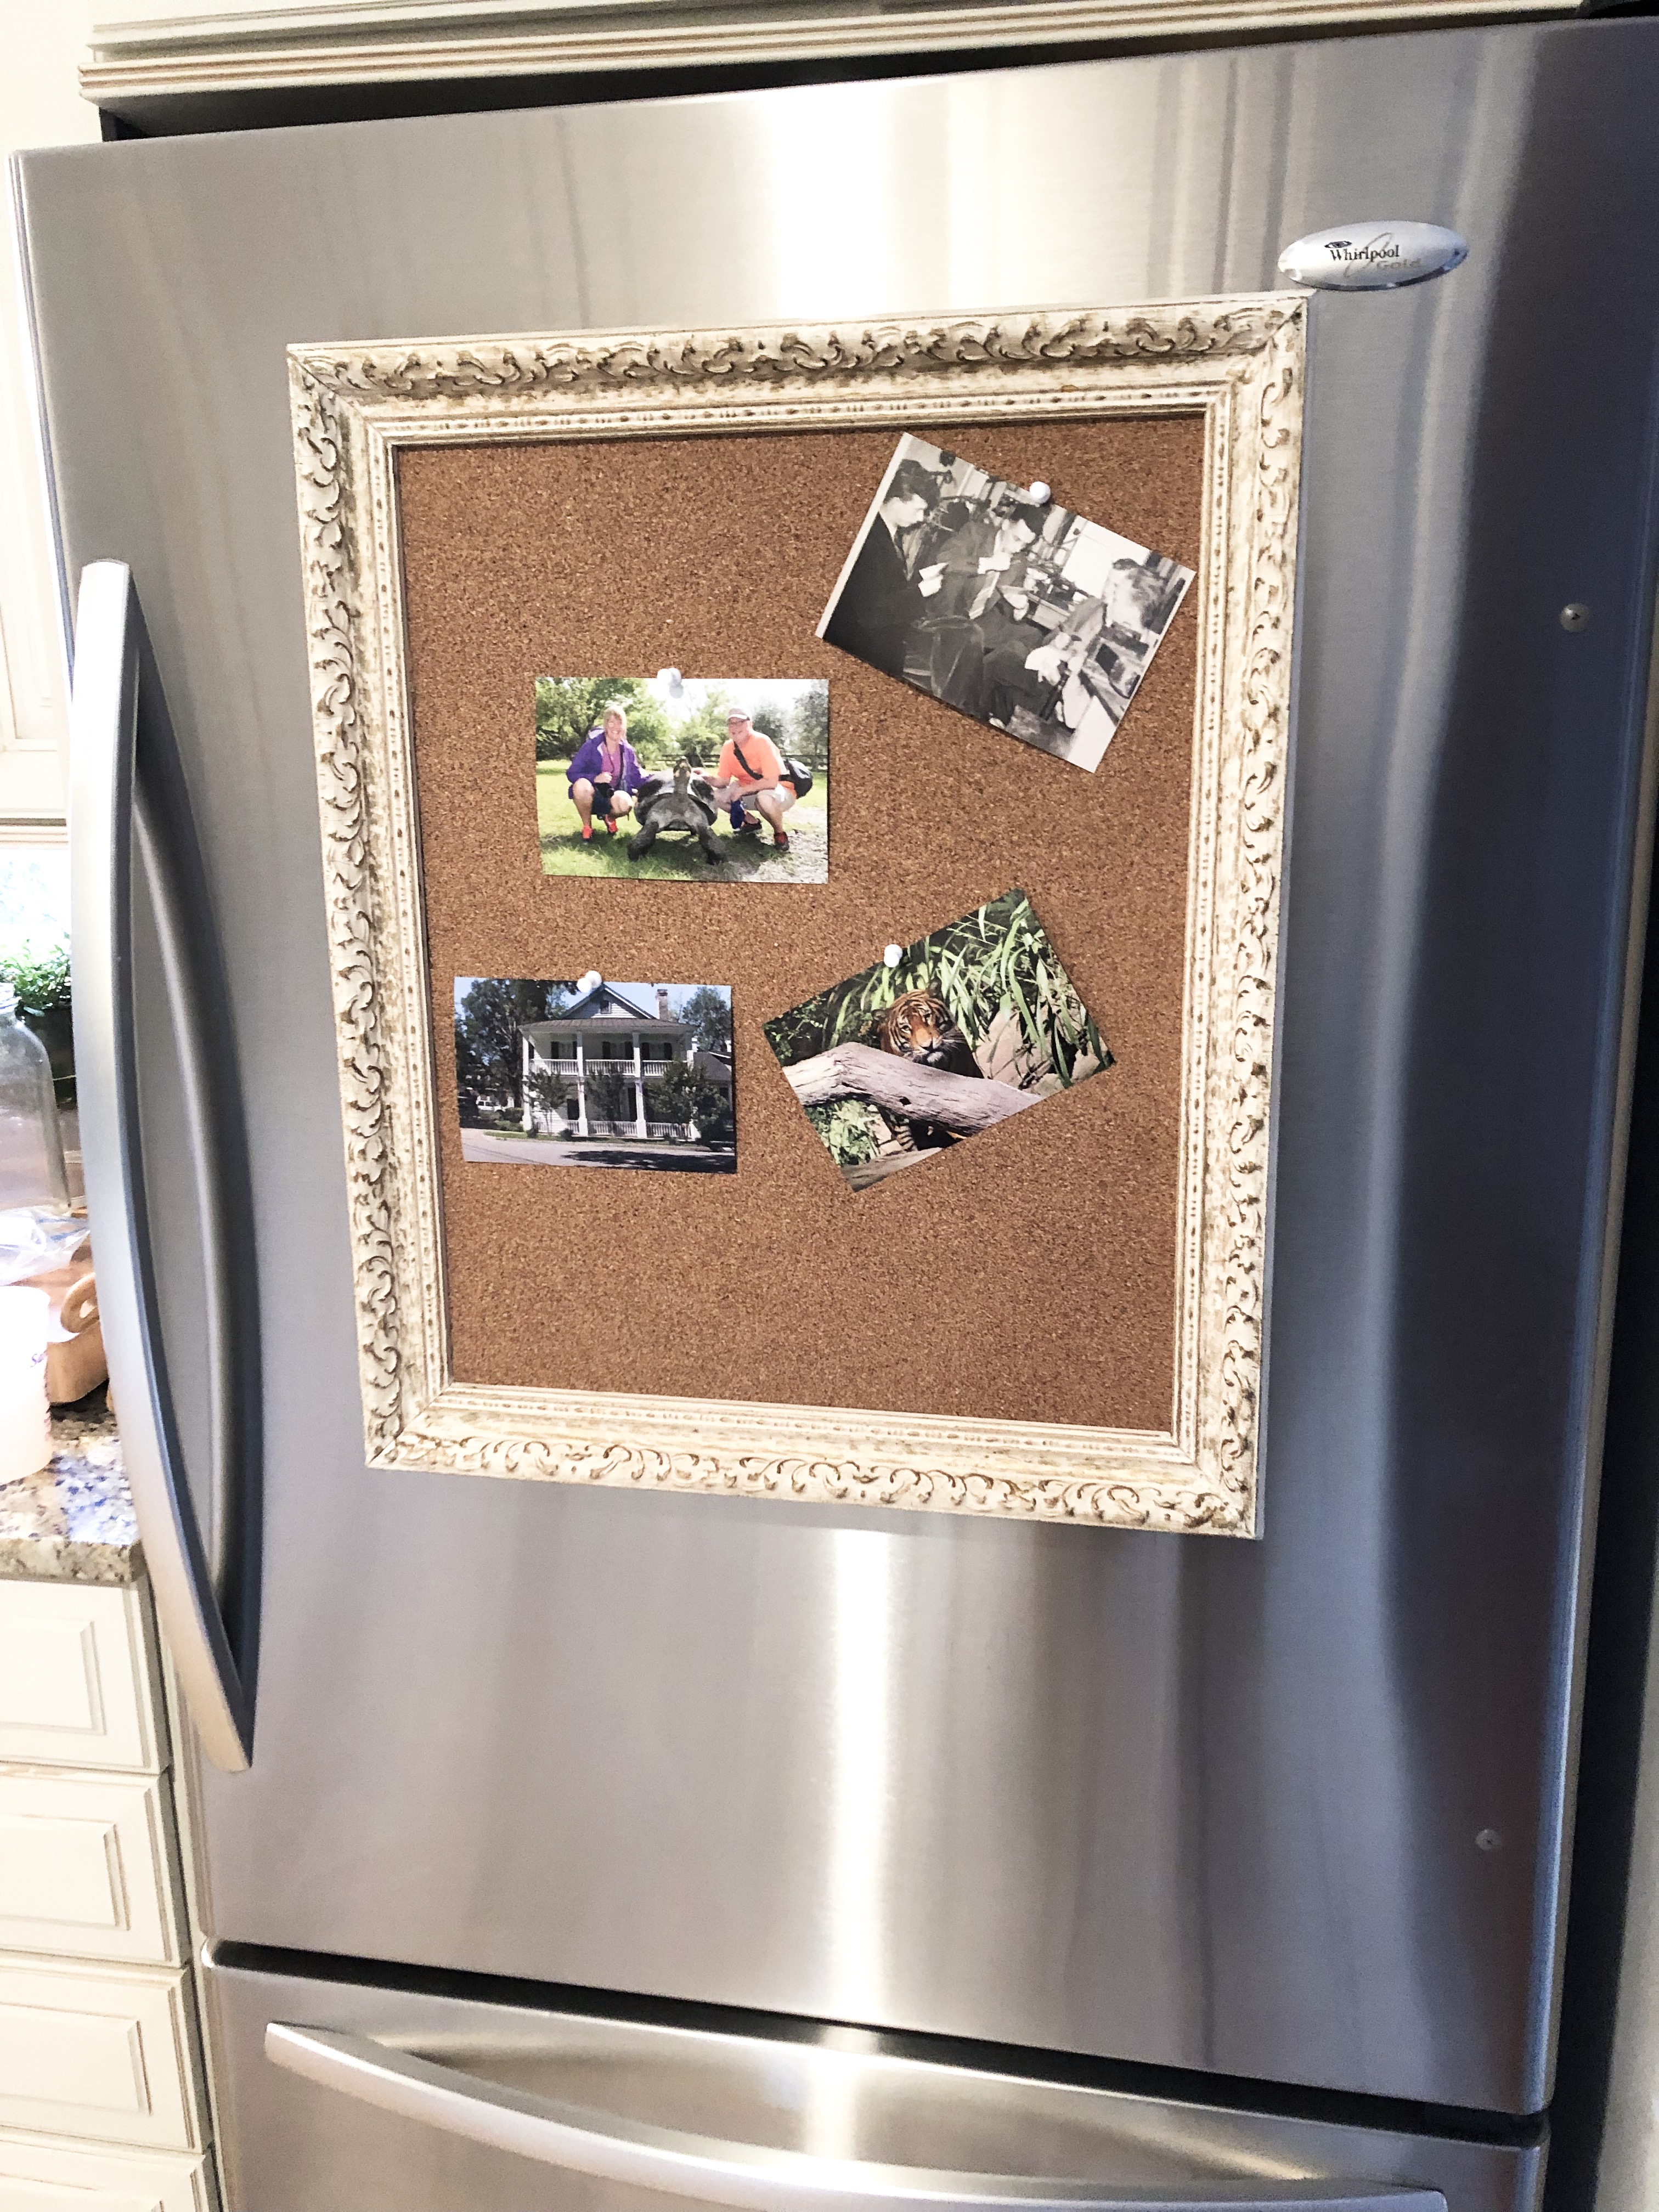
To attach the bulletin board to the fridge I used command strips on all four corners. That’s probably overkill, but I know it will hold anything Chris might want to put on it. I think it turned out pretty good. What do you think? Chris is already planning all the things he wants to display.