Imagining the Party Shed – Railings and Finishing Touches (Part 4 of 4)
We are so close to finishing our amazing entertainment space! If you’ve read the first three installments, I apologize for the brief digression. Skip the next paragraph and dive right in!
The Back Story
In a nutshell, my husband, Chris, and I found a wonderful structure on our Back 40. It used reclaimed materials from my 1930s Sears & Roebuck kit house to form its single wall.
There is a glorious pecan tree growing out front and we decided to turn the outdoor-under-cover “space” into a place where we could relax after working in the garden, invite a couple of friends over for dinner or have a whole group of friends over for a party. We got the site cleaned up, built a retaining wall to level the floor, laid cobblestone pavers and build a rock-solid wrap-around deck. All that’s left is to install a railing and do some finishing touches.
The Railing
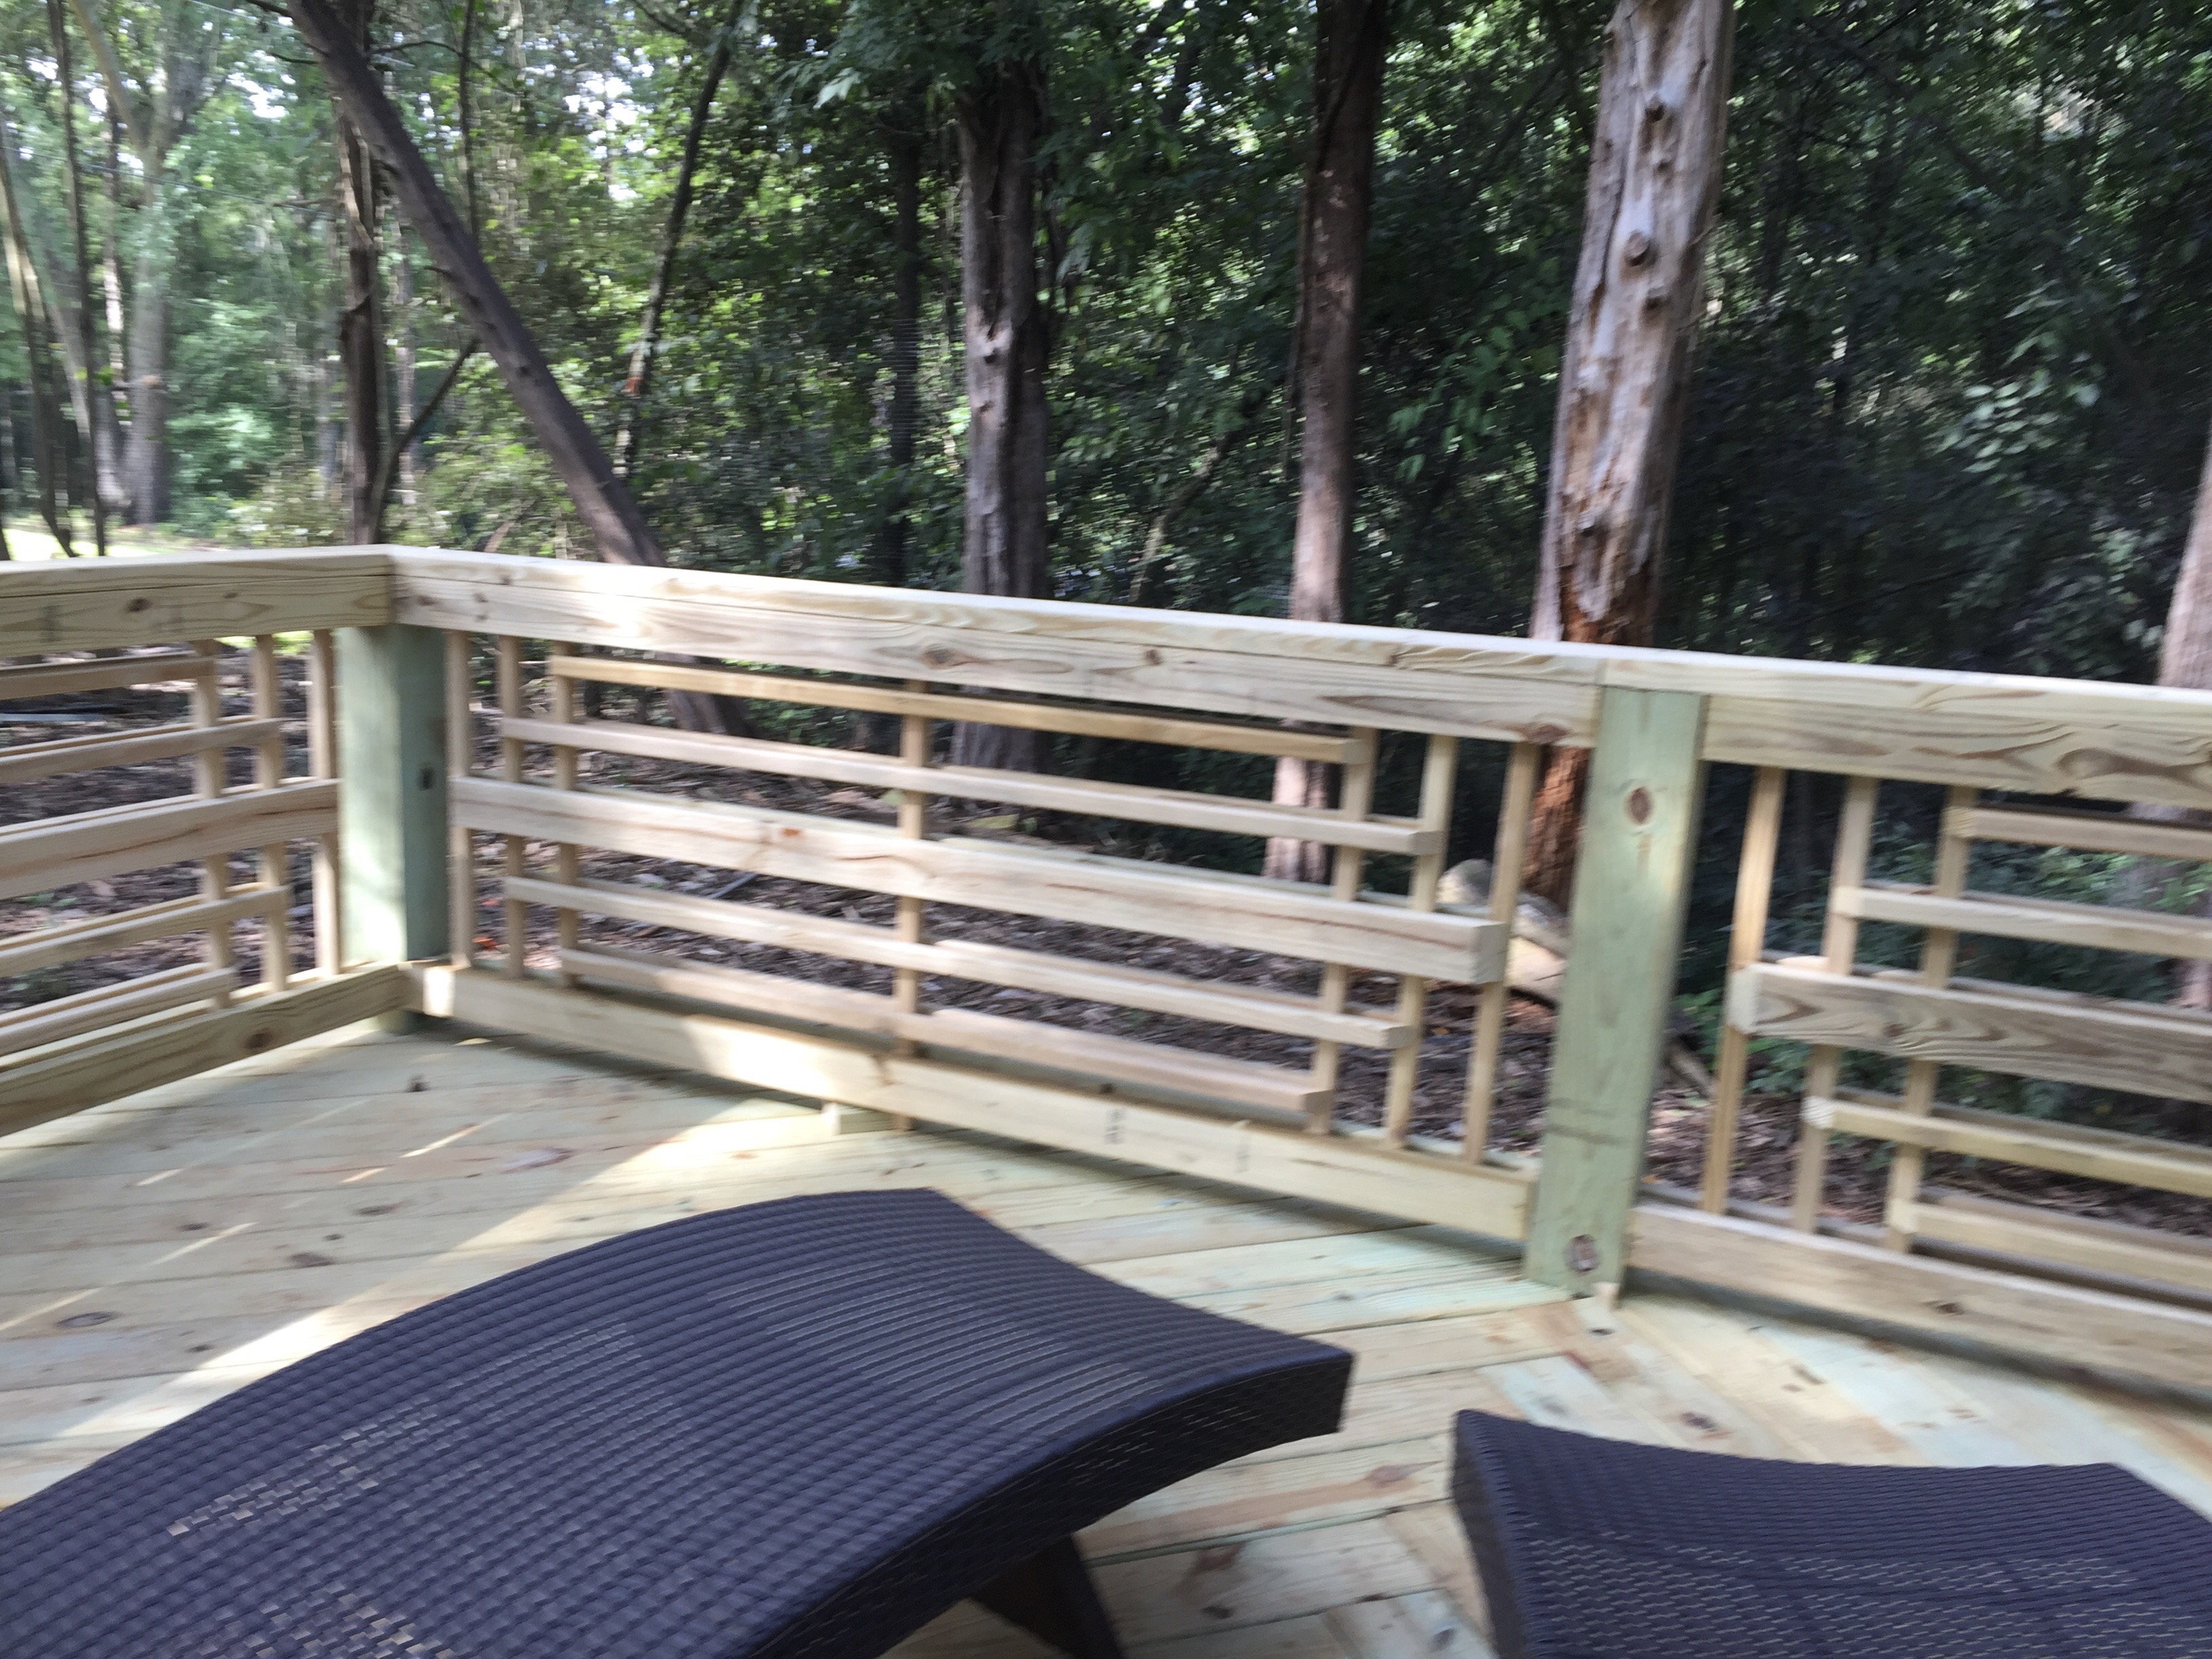
Every deck needs a railing. However, I didn’t want your usual run of the mill railing with pickets. I love the craftsman look. I found an amazing example of an unusual craftsman style railing in a magazine years ago. I used a one-sided version of it at my house in Charlotte and I decided it would be the perfect touch for our wrap-around deck at the party shed.
We wanted to be sure to stay within code so there is no gap wider than four inches. We cut several pieces of 2X4 to four inches to ensure we stayed consistent. Here’s a sketch of what I was envisioning.

There were eight sections of railing and we wanted them to be doubled-sided. This way it would look good both on and off the deck. We used a combination of 1X1s and 2X4s. The 1X1s were used vertically at either side and in the middle. A combination of these and 2X4s were then used horizontally on either side of the vertical 1X1s to create the pattern.
Because of the complexity of the pattern it took us an entire weekend to finish all the sections. We ended up purchasing a finish nail gun that ended up being a tremendous time-saver. Each piece had to be measured individually, but we got into a rhythm and measured all the pieces for one section and cut them all at once.
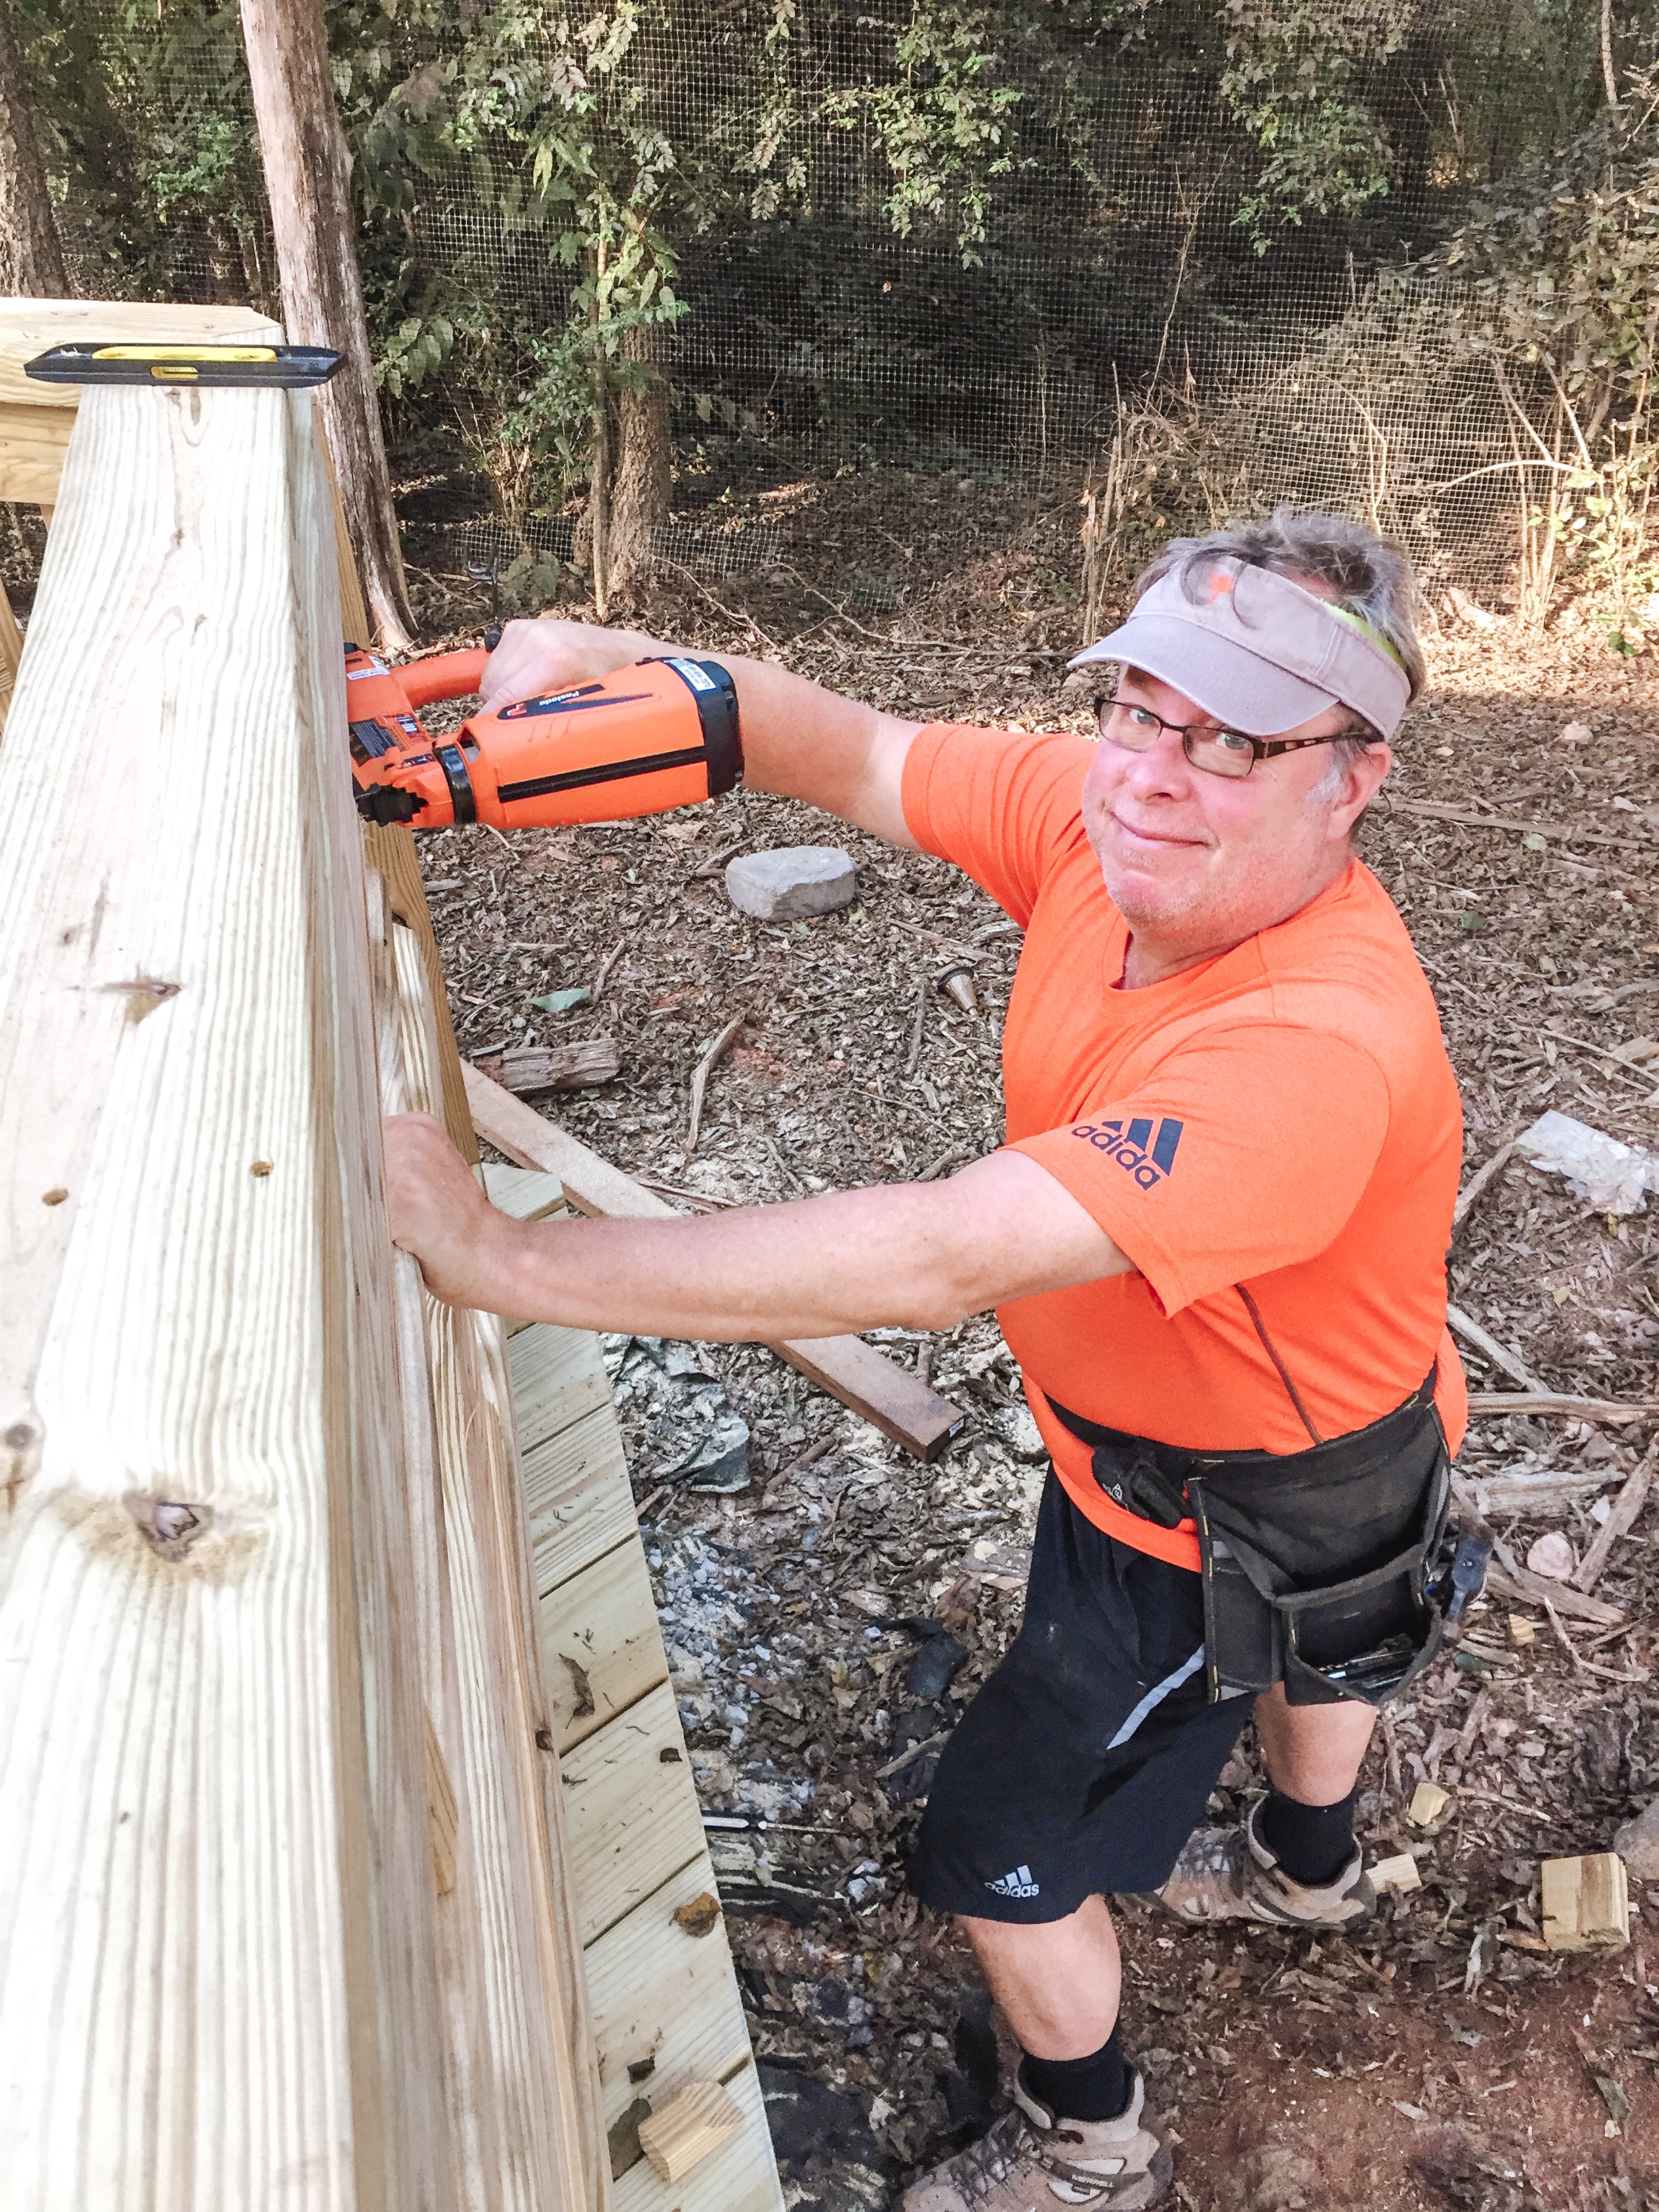
Here’s Chris putting in the last nail! We waited eight months to let the wood dry out before staining it to match the fence. We love the way it turned out! It makes a great statement for the party shed, don’t you think?
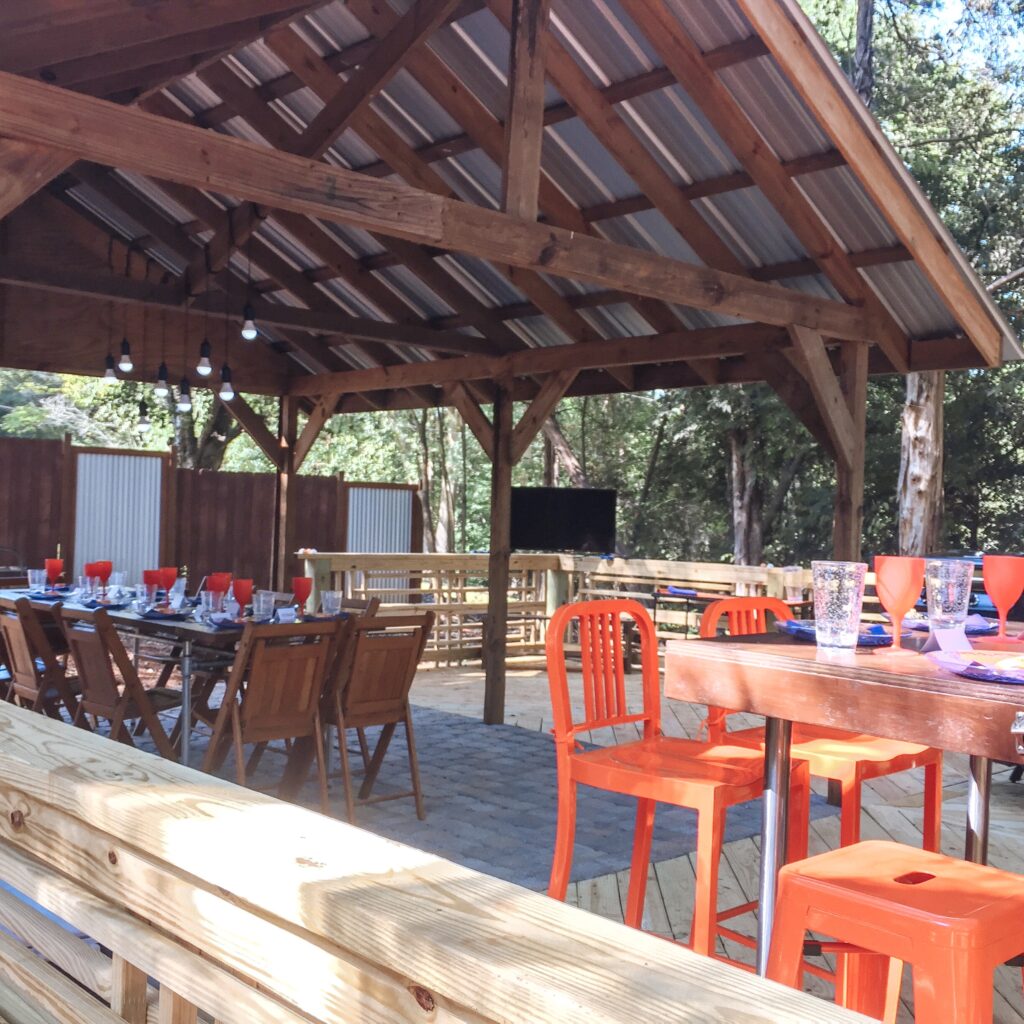
The Bars
After we finished the railing, we realized that we needed something space for serving (both drinks and food). I had seen something on Pinterest that I thought would do the trick (check out the inspiration here).
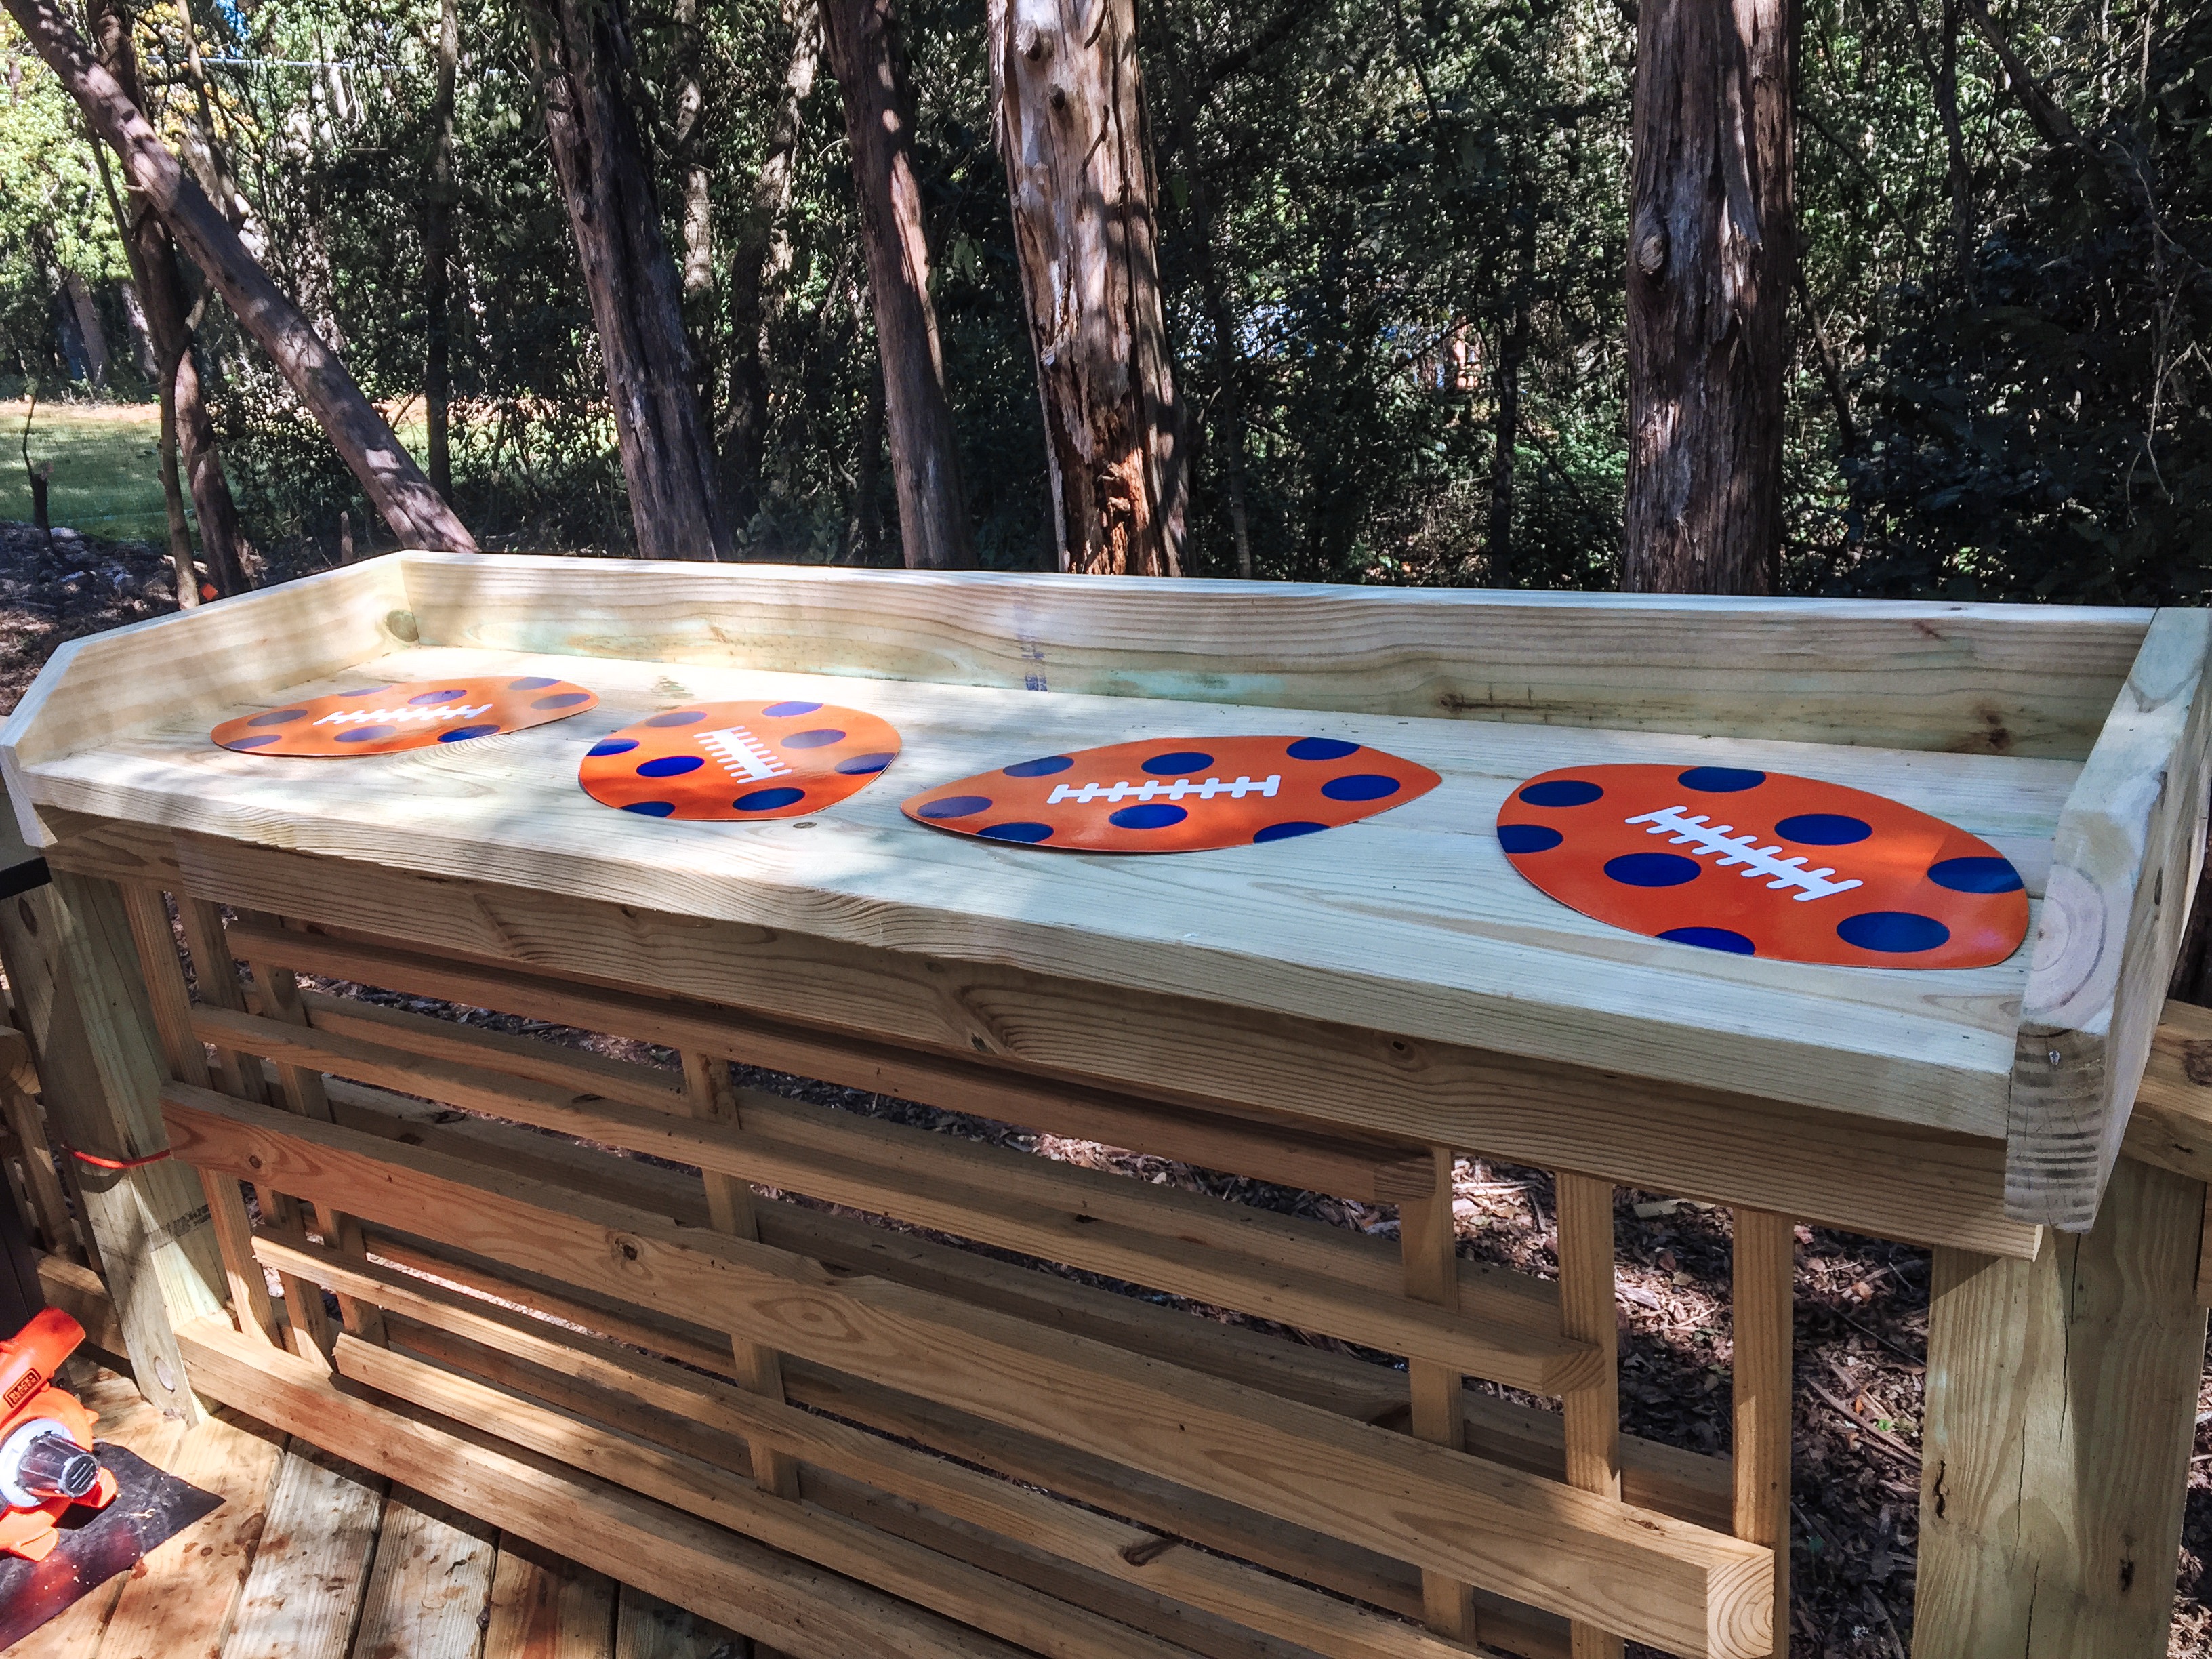
We used leftover 2X6s for all the pieces and just eyeballed a length that we thought would be manageable. The “bars” as we took to calling them, sit on the railing and a held in place with 2X6s on either side. We did end up wedging a 2X4 underneath each once we had it in place. This ensured that there was no way they would shift.
After a couple of rain showers we went back and drilled a few holes in the “low spots” to help drain the water that would collect. They are movable, but we like having one to the side to serve as a bar and another on the other side of the grill for food.
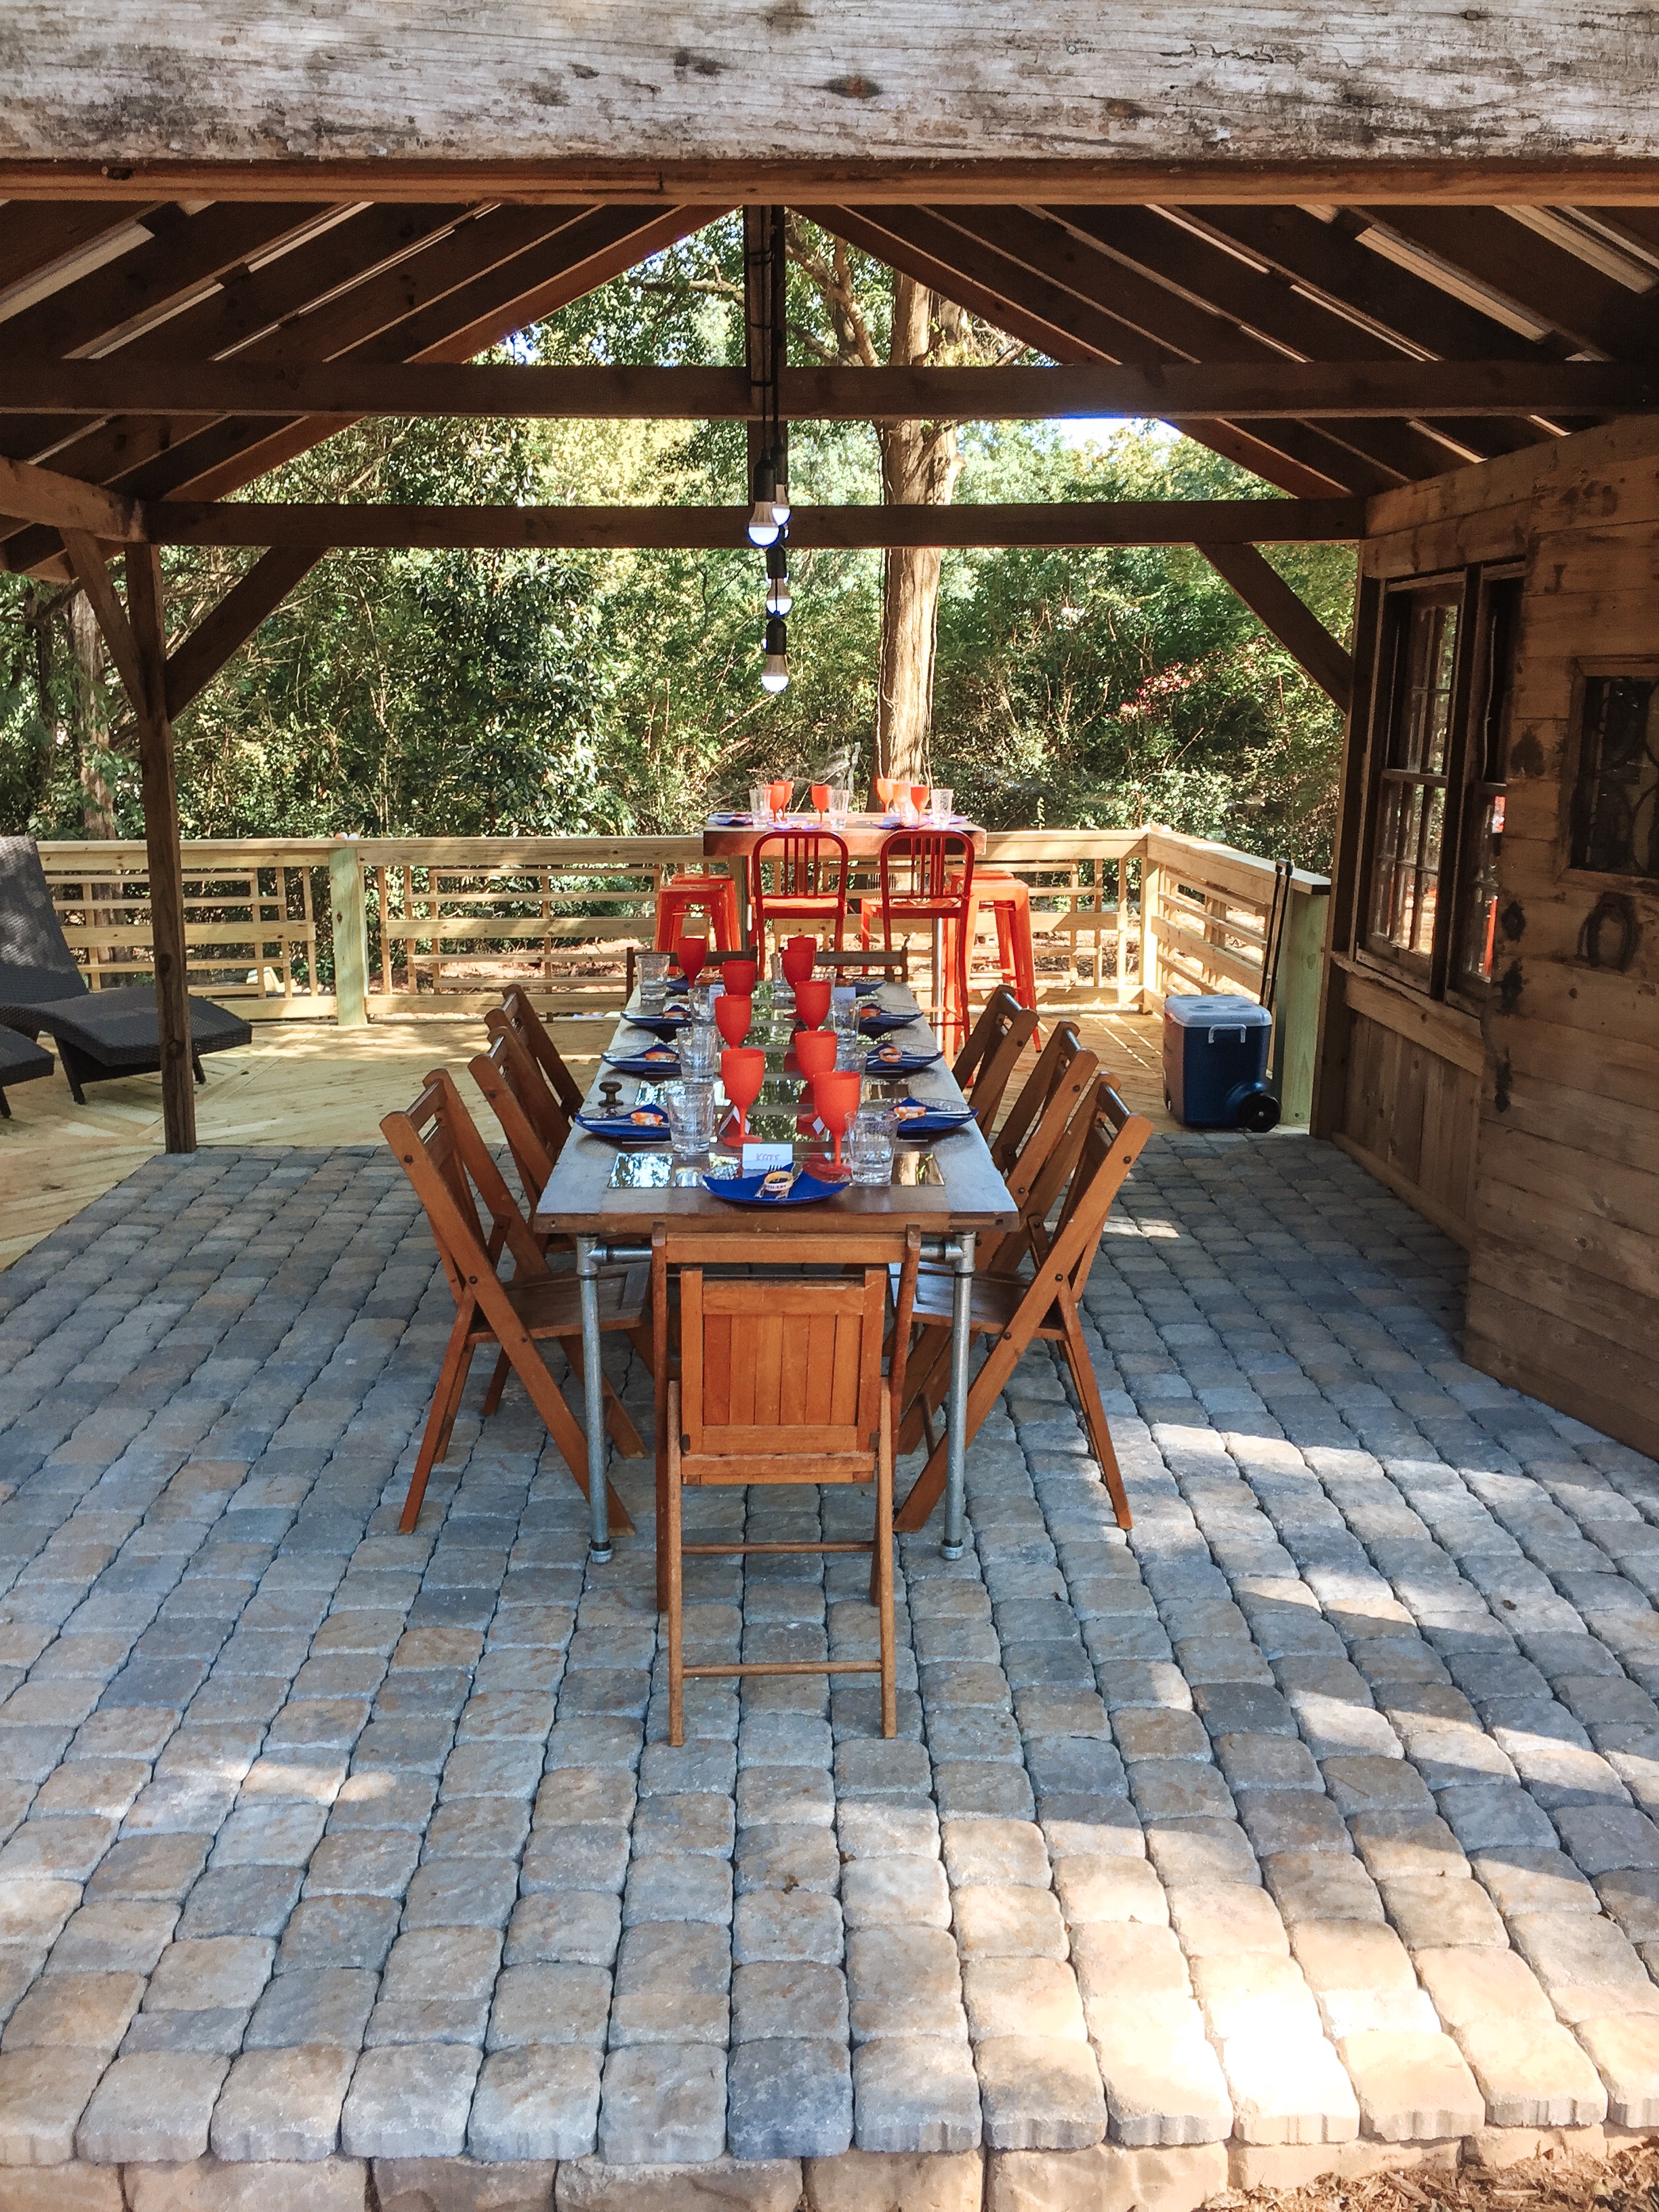
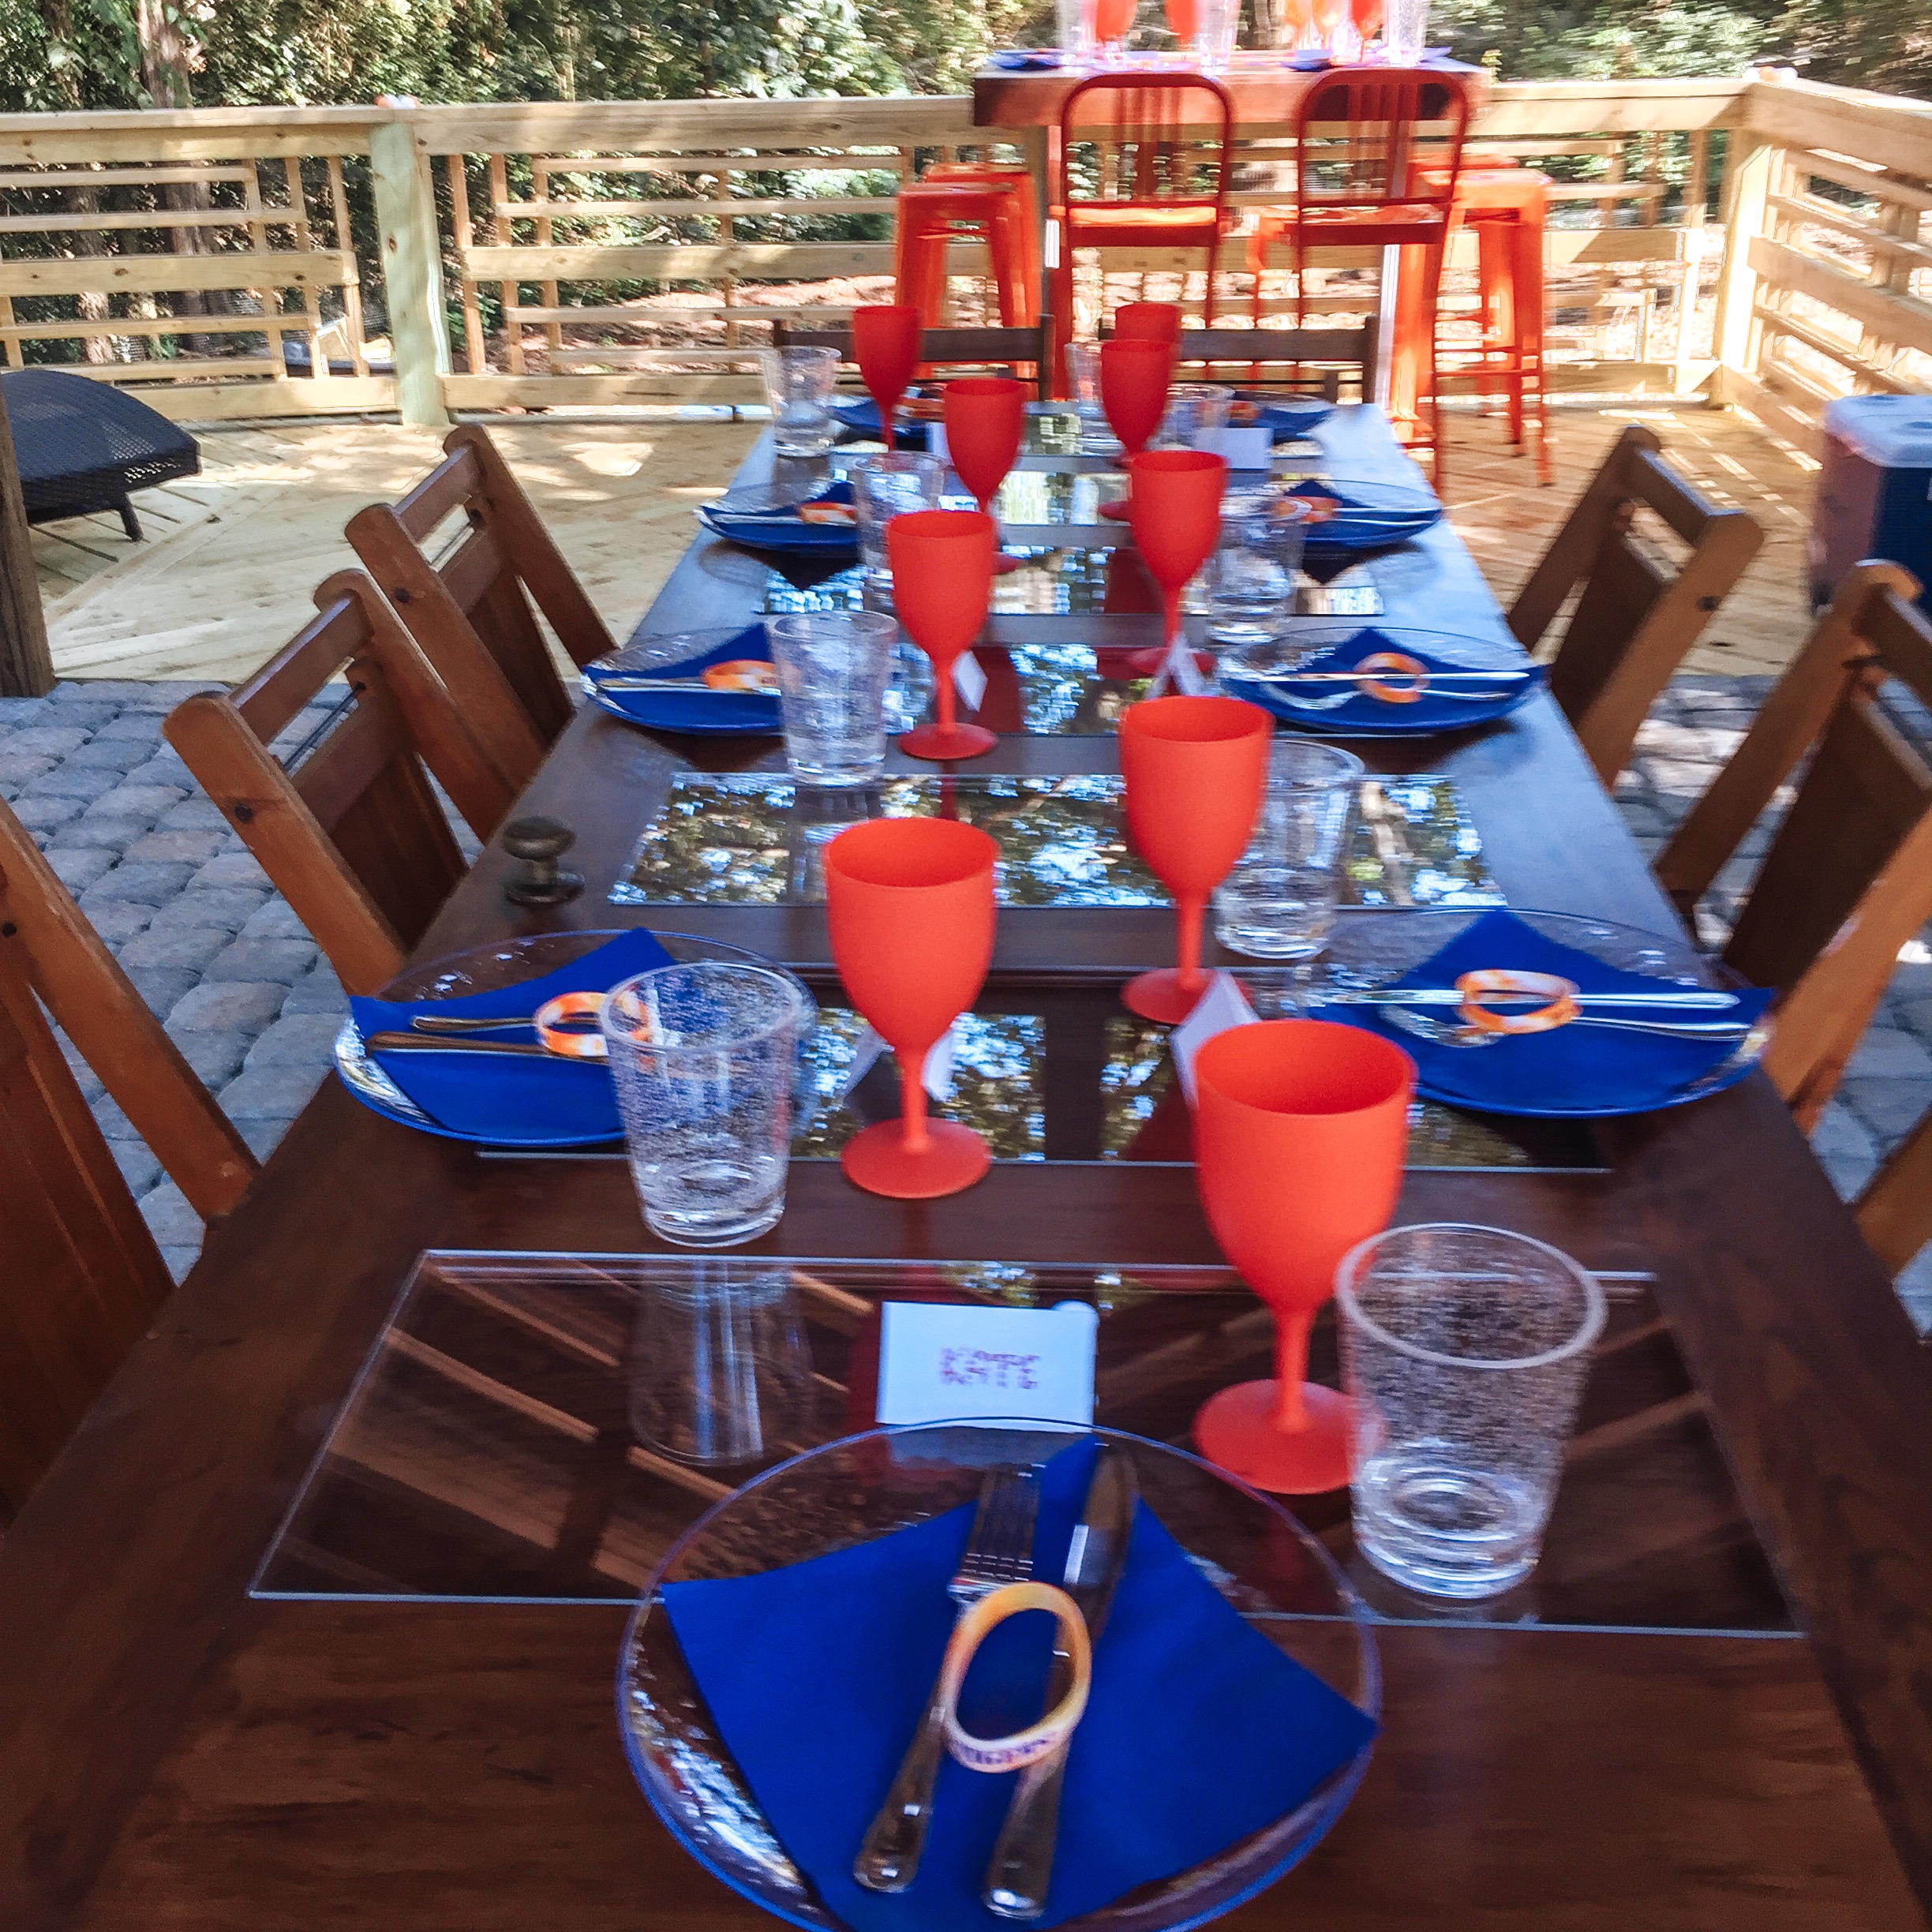
The Table
We added a table that I have made out of an eight-foot panel door that came out of a church in Kentucky. I stripped, stained and sealed the door and used metal pipe fittings for the legs. I added a plexiglass insert to each of the panels to level the table surface.
Above the table, I added these cool lights that I found online. They look like lightbulbs attached to a long cord and are run with batteries. You pull the cord and the light comes on. I wound the cord around the rafters above the table at different heights. To turn on the lights, we just pull down on the bulb. The website said the batteries would last for 1000s of hours.
Here are some pictures of our first party. We used our bar that we use for tailgating at football games for some additional seating. I think that’s a post for another day.
Do you have some entertaining space you love? Please share! We have a lot of garden left to fill!!
2 Comments
Nancy
Hi Kate, I found your blog via the blog traffic challenge. I LOVE everything about your new outdoor space! The railing is gorgeous. The entertaining space is huge. I’d love to see a shot of what it looks like at night (or dusk). I’ll bet it’s lovely. Great job! All your hard work really paid off. So when is the party?
Kate
Thank you so much for your kind words! We added another deck (the chess deck) to the party shed just in time for my big birthday bash! We now have lights so I do need to get a picture at dusk/dark. We were having too much fun:) I will post a new pic soon — thanks for the suggestion! We have more things planned for the Back 40 so keep an eye out for our next project!